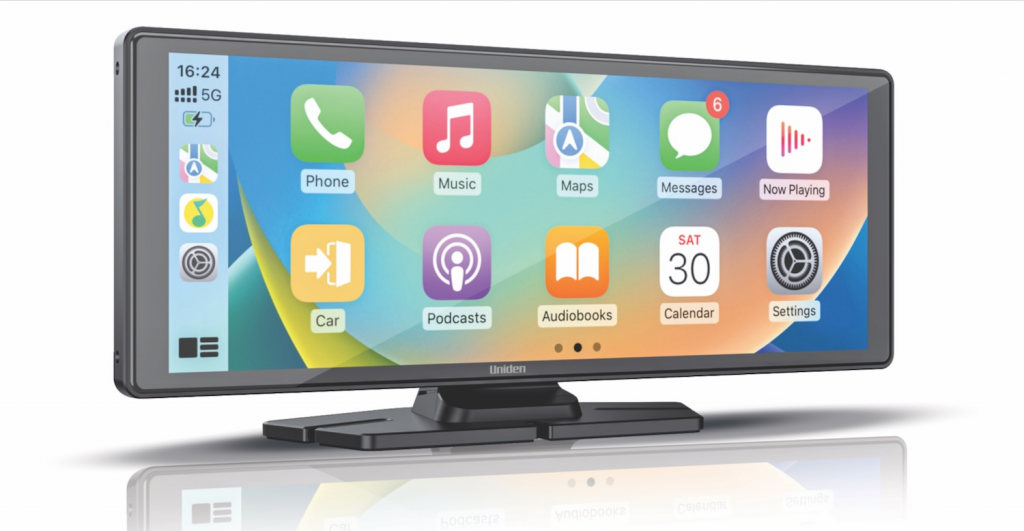
Uniden iGO Play 10″ – Rear Camera Slot

My girls for Christmas brought me the Uniden iGO Play 10″, which brings Android Auto to my old 2004 Toyota Prado (120 Series).

I’ve loved placing some new technology into the rig, and the installation has been excellent, including some customizations that I didn’t expect to work so well. One being to maintain the Bluetooth link to my existing stereo for better audio quality (at least to my experience)

Then I found the Rear Camera Slot, brilliant I thought. The problem I found quickly was the limited content user manual had nothing about the pin-out for the 2.5mm female jack, either did all of internet.

So I’ve needed to explore and discover them personally, but why keep this information to myself . So below is that jacks pin-out and pin-in (it seems) for you.

  1. I found the tip to be 5 volts output for when the rear camera view is enabled, I’ll assume for a power source to low current (and voltage) cameras, or a 5v coil relay to turn on the camera.
  2. The upper ring is the said video (standard RCA center connector) input (outer goes to common/ground below).
  3. Lower ring is a reverse gear selection. This requires the pin to be brought up above 3.3v for the screen/unit to go into reversing mode – when high no screen buttons work until lowered. When enabled and disabled the unit displays a “Begin Reversing” and “Stop Reversing” message.
  4. Then the outer sleeve is the common / ground pin, though I did find this is bonded to the cigarette plugs negative pin, hence the vehicles negative.

I’ve not determined if a current limiting resister is required as yet (I have reached out to Uniden for opinion but not heard back as yet), but remember the cable you are using will be very small, so fuse approximately – for example, I’ve fused for 2A.

Enjoy

UPDATE : It’s a good thing I dropped in the fuse, as I’ve already tested it. AKA Do NOT disconnect/pull out this 2.5mm Jack while the reverse gear is selected. The “reverse gear” “lower ring” when active drags past “common / ground”, this shorts reverse (in my case 12v) to negative. Bit of a design fault in my opinion, but I’m sure not too many people are using this feature, and then of those people many will know electrical systems well enough, and have hopefully read this warning.

Add shepherd XMLTV Grabber To Ubuntu Plex Server

Now that Plex has dropped guide data support for the Live TV / DVR component of their Plex Pass feature set, it’s necessary to configured your Plex server to download XMLTV guide data by other means.  Below is my take to configure a Ubuntu Plex Media Server with the guide data script Shepherd.

<code>sudo su
apt-get install libcrypt-ssleay-perl (maybe not required)
apt-get install liblwp-protocol-https-perl libxmltv-perl
apt-get install libalgorithm-diff-perl liblist-compare-perl
sudo plex
mkdir source
cd source
wget ‘https://raw.githubusercontent.com/ShephedProject/shepherd/release/applications/shepherd’
perl shepherd
cd ~
./shepherd</code>
Go through the prompts to configure the script, answer no to any MythTV specific questions.  Also don’t enter an admin password to create the symbolic link(s)
<code>./shepherd –component-set augment_timezone:timeoffset=+0800</code>
MythTV’s guide data has always been in local time, but I’ve identified Plex wants it in GMT time with a timezone argument, the above command sets this within the output.xml.  Warning this method gets a little tricky with daylight savings, which Perth doesn’t have to deal with, so I have no insight here with how to resolve this issue.
Now lets download your first data set, this will take hours, not because it takes this long but because the script is very low impact with the data providers in an attempt to not be blocked.  So please be patient here, and don’t look at the methods to speed it up, for the good of all.
<code>./shepherd –noautorefresh</code>
Once this is complete we can setup automatic downloading
<code>vim /etc/crontab
add the line “11 */12 * * * plex /var/lib/plexmediaserver/.shepherd/shepherd –noautorefresh”
ls /var/lib/plexmediaserver/.shepherd/</code>
With the above you should see a output.xml copy this path and file name and drop it into making you DVR settings path to xml box.

At this stage Plex doesn’t seem to have the ability to assign the channel labels correctly to their channels, or the channel icons, I’ll see if I can correct this soon, update to come.

Back note: I am certainly aren’t holding Plex, being a MythTV user since 2005 I know how screwed up media content and end user rights are.  I have been struggling this TV guide data for many many years, and I was so surprised Plex was able to throw it in.  But as always eventually the network carriers win and the system breaks.

Failover Internet on ER-X -Ubiquiti (Ubnt) Edgerouter / EdgeMax

Still a new router to me, and this goes for the language it uses but I’ve striped out the configuration the wizard used to setup fail over internet below, after only a few minor changes (narrow the internal group to the ranges I use, description changes, and group name changes to suit what I’m using) and applied it to my existing config with out issue.

So I am back to NBN fail-over to wireless point-to-point.

set firewall group address-group Internal address 172.30.0.0/24
set firewall modify balance rule 10 action modify
set firewall modify balance rule 10 description 'Do not load balance lan to lan'
set firewall modify balance rule 10 destination group address-group Internal
set firewall modify balance rule 10 modify table main
set firewall modify balance rule 50 action modify
set firewall modify balance rule 50 description 'Do not load balance destination public address'
set firewall modify balance rule 50 destination group address-group ADDRv4_pppoe0
set firewall modify balance rule 50 modify table main
set firewall modify balance rule 60 action modify
set firewall modify balance rule 60 description 'Do not load balance destination public address'
set firewall modify balance rule 60 destination group address-group ADDRv4_eth4
set firewall modify balance rule 60 modify table main
set firewall modify balance rule 70 action modify
set firewall modify balance rule 70 modify lb-group FailOver
set firewall options mss-clamp mss 1412
set load-balance group FailOver interface eth4 failover-only
set load-balance group FailOver interface pppoe0
set load-balance group FailOver lb-local enable
set load-balance group FailOver lb-local-metric-change disable
set system conntrack expect-table-size 4096
set system conntrack hash-size 4096
set system conntrack table-size 32768
set system conntrack tcp half-open-connections 512
set system conntrack tcp loose enable
set system conntrack tcp max-retrans 3

During my research I did read about people needing to reboot the router after these changes, this was through the GUI interface, not much reason was given to why but when your in the CLI it does explain.

[ system conntrack hash-size 4096 ]
Updated conntrack hash size. This change will take affect when the system is rebooted.

So the normal routing table:
IP Route Table for VRF "default"
S *> 0.0.0.0/0 [1/0] is directly connected, pppoe0
S 0.0.0.0/0 [100/0] via 10.60.70.177, eth4
S *> 10.0.0.0/8 [1/0] via 10.60.70.177, eth4
........

and the failover routing table:
IP Route Table for VRF "default"
S *> 0.0.0.0/0 [100/0] via 10.60.70.177, eth4
S 0.0.0.0/0 [1/0] is directly connected, pppoe0 inactive
S *> 10.0.0.0/8 [1/0] via 10.60.70.177, eth4
..........

AGM & Wet Battery State Of Charge

These are always handy to have on hand, to look after your battery.

Try to never fall into the orange area, and most certainly shut down if you get into the red area, you’ll be killing the battery.

Note these voltages need to be read with nothing drawing on the battery for around 10 minutes or also (let the battery settle out) to get a true indication.